The purpose of this article is to document the first level of a proof of concept for LaunchDarkly, exploring the main features and the integration with a React web application.

Why LaunchDarkly?
LaunchDarkly is a leading feature flags tool, providing great features to help products enable or disable features in real-time. Below are some of the benefits of this product:
- Determines which part of the source code will be executed in runtime.
- Makes features visible only for specific groups of users.
- Deploys new features and then activates them later.
- Modifies the product’s behaviour without a new deploy.
- Integrates with monitoring and metrics to address technical issues.
- Provides A-B tests, easily.
Objectives
For this PoC, we are focused on evaluating the feature flags management, integrating with a very simple web application in React. Below we have the scope of this PoC:
- Create a LaunchDarkly testing account.
- Create the feature flags A, B and C in LaunchDarkly.
- Create a sample React/Node.js app.
- Integrate the LaunchDarkly feature flags in the app.
- Activate/deactivate the A, B and C features in the app using the flags.
Creating a LaunchDarkly Testing Account
For testing purposes, LaunchDarkly allows you to create a free account and project with production and testing environments, as you can see below:
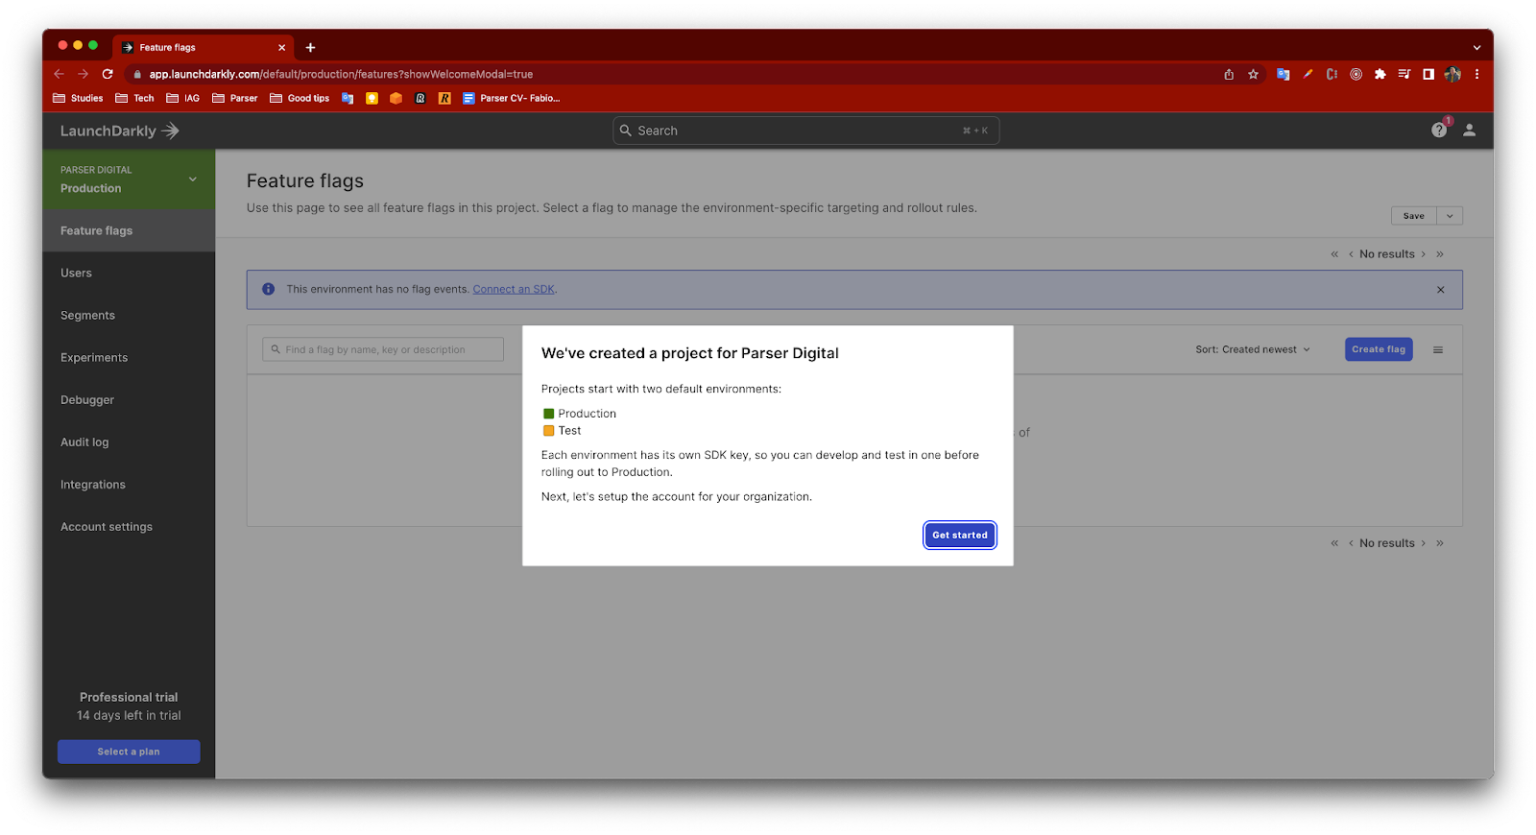
Project created
Creating the Feature Flags
For both scenarios in this PoC, we’ll create 2 feature flags, one to enable/disable the feature A, and one to enable/disable feature B. The process is pretty simple as you provide some information about the new flag.
Creating A, B and C Feature Flags

Feature flag creation screen
Flags can be a boolean, string, numeric or even a JSON, and you can control the different variations of this flag, for testing purposes, as you can see below:
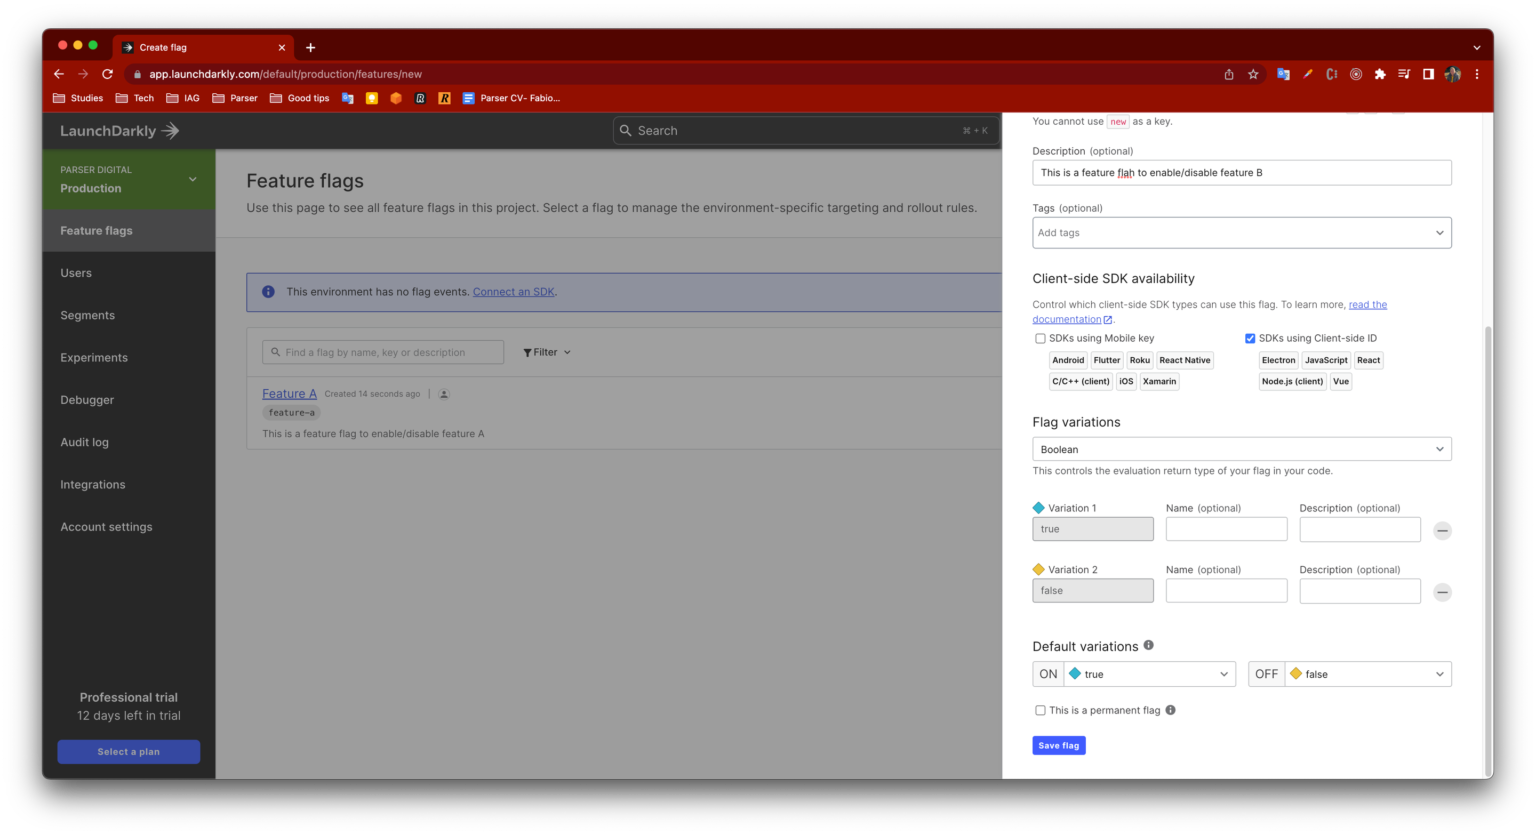
Feature flag creation screen
After creating our new feature flags, we can see both in the page:
Features flags A, B and C created
The React Application
For this PoC, we created a simple React/Node.js application where it shows boxes representing the features, to be mapped to each feature flag. Initially, all features are ON, so you can see all the buttons in green representing the status of each feature:
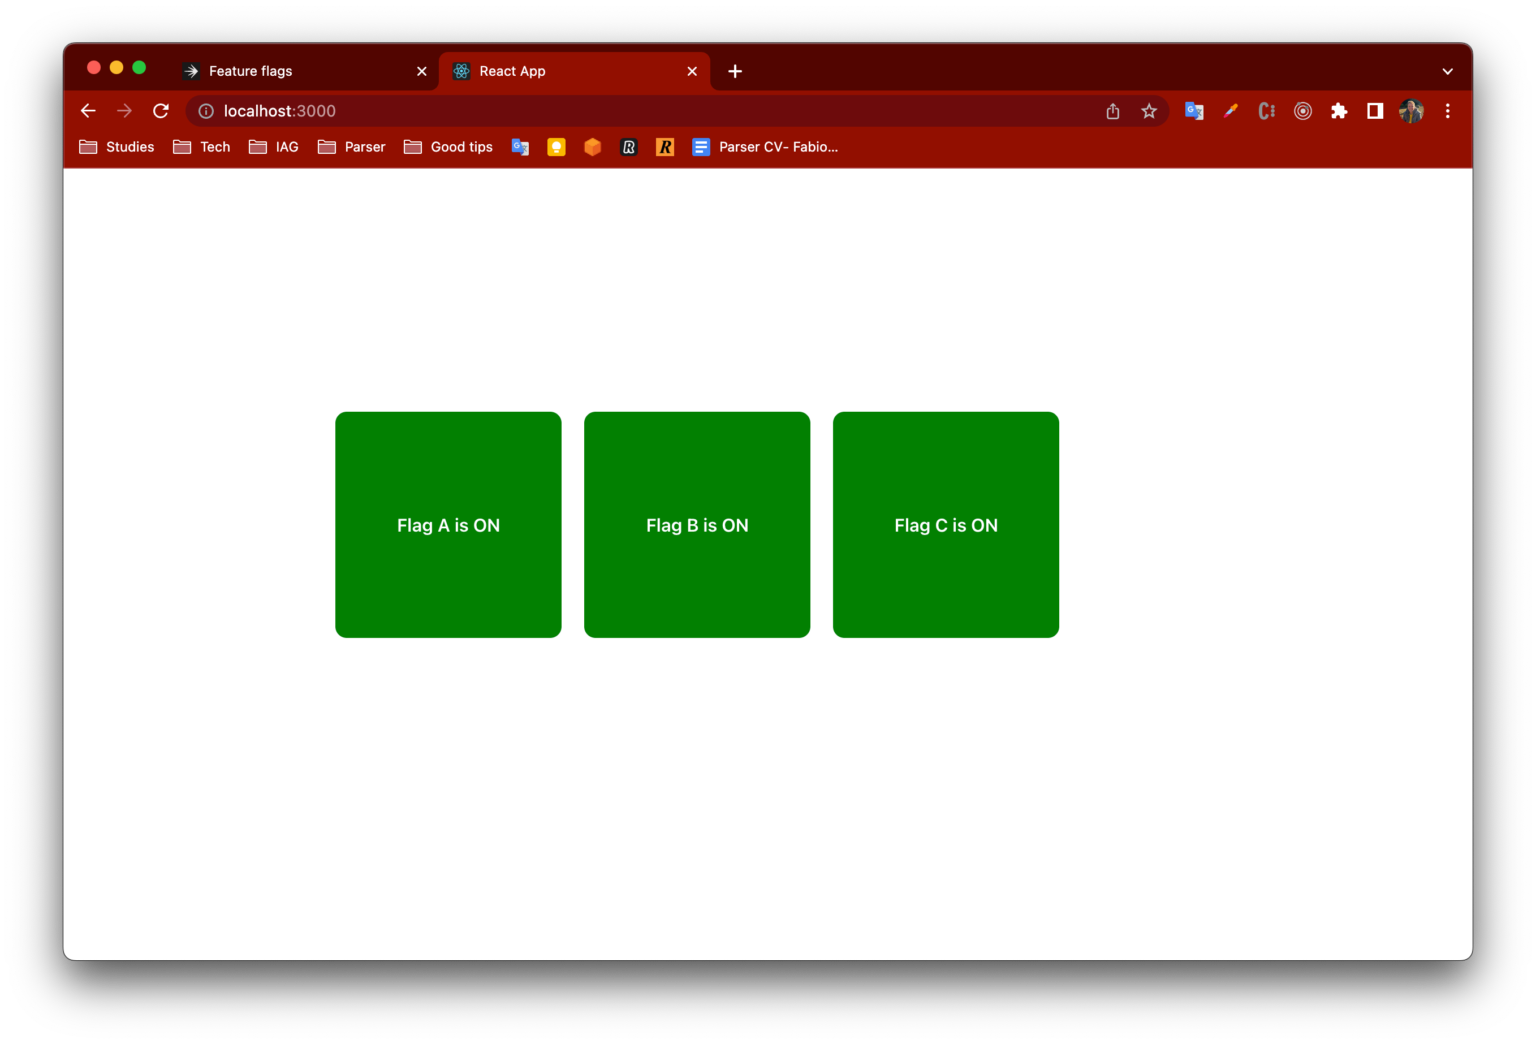
Simple React application (All flags ON)
Connecting with LaunchDarkly through the SDK
First of all, for React applications, we use the the launchdarkly-react-client-sdk library. It provides the resources needed to connect the app with LaunchDarkly SDK.
In the App.tsx file, we need to use the withLDProvider component, putting the information needed to use the SDK.
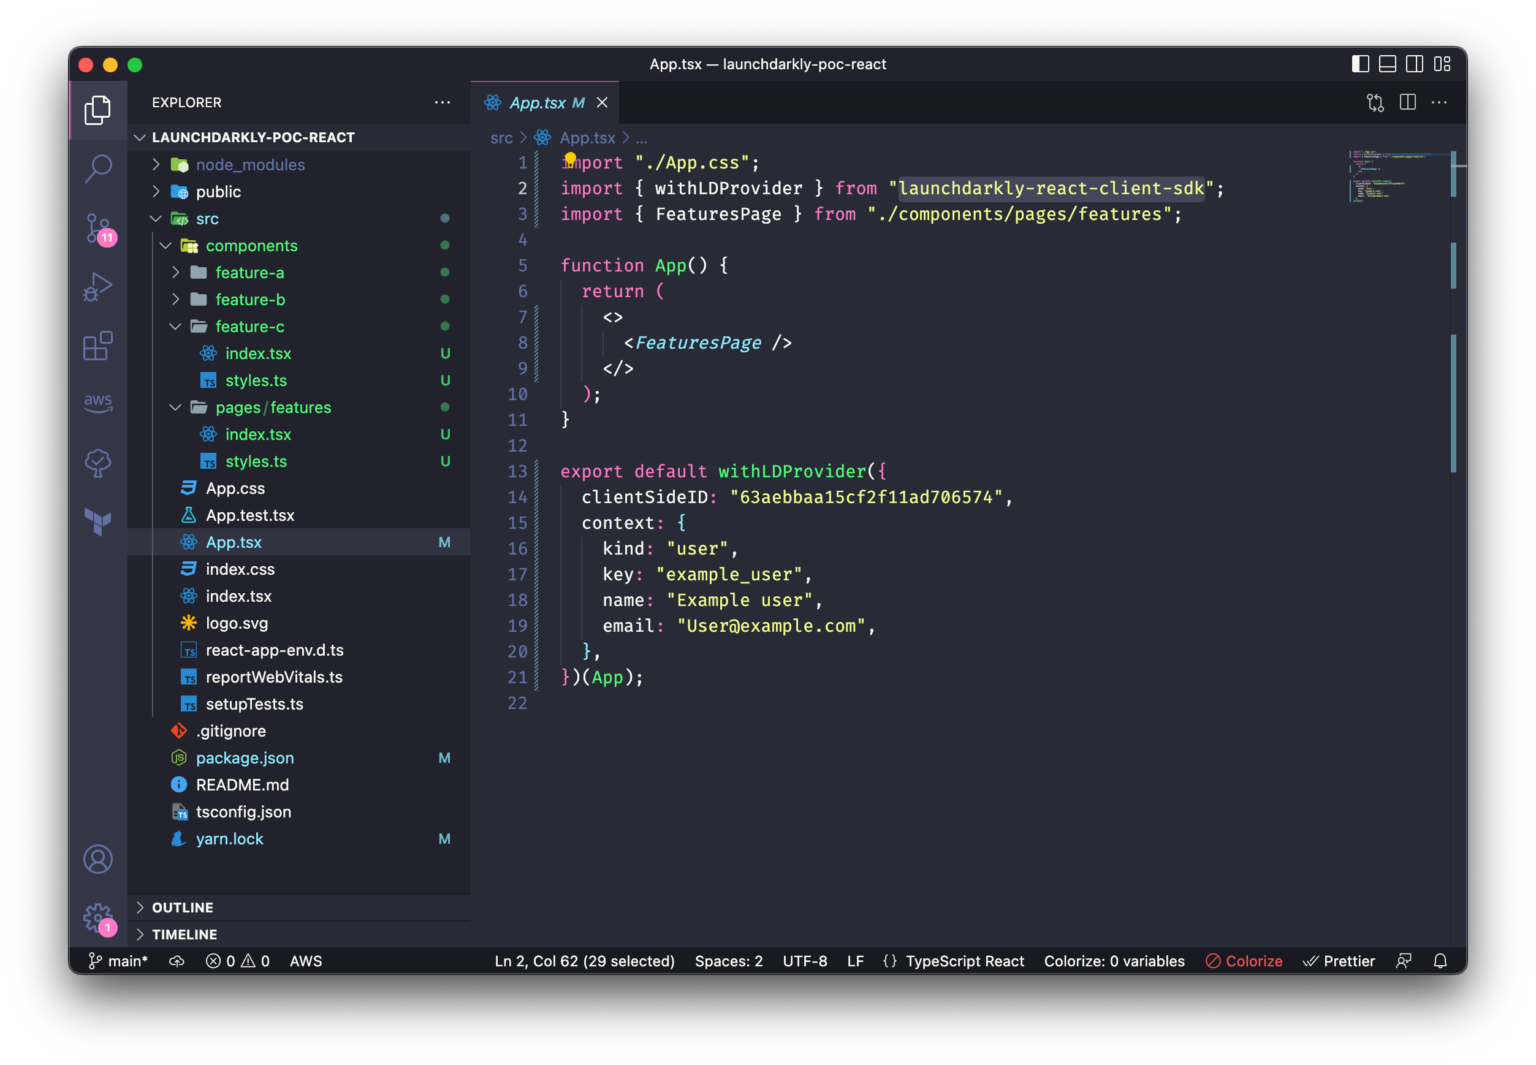
App.tsx file
Then, for each feature flag, we use the withLDConsumer component to inject the flags information to our React component. In this app, I created a component for each box that represents a feature flag. Below you can see an example of the code for the Feature A:
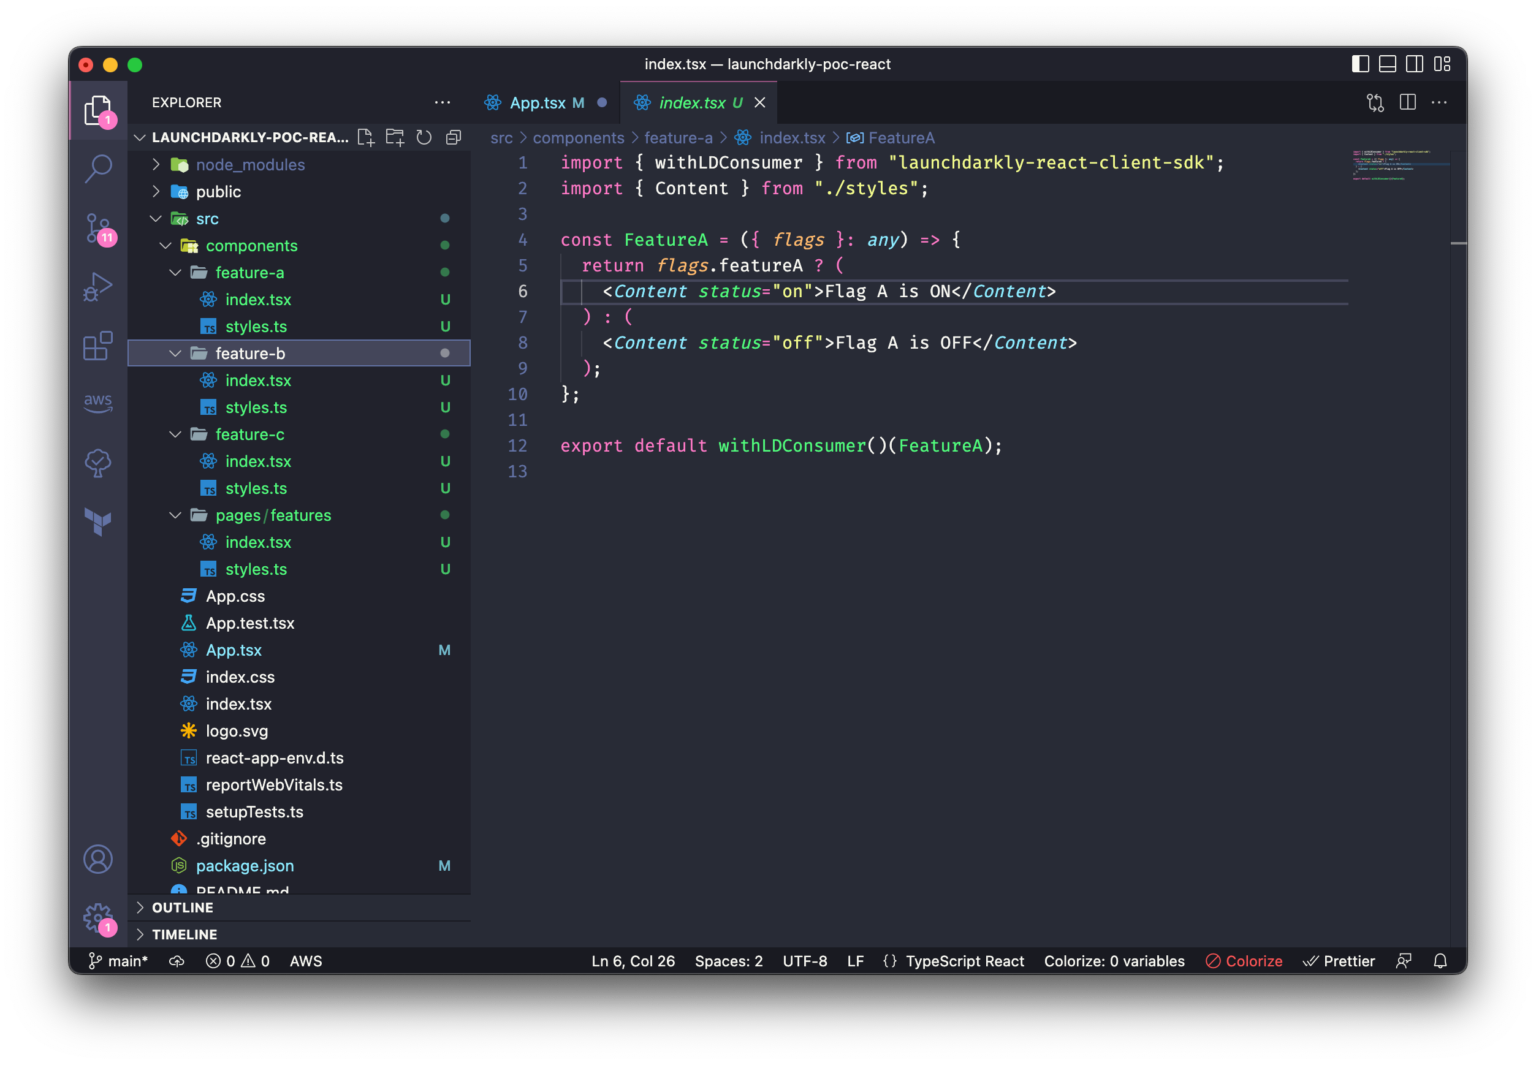
Feature A component
Now we can configure the SDK to start observing events from our React app:
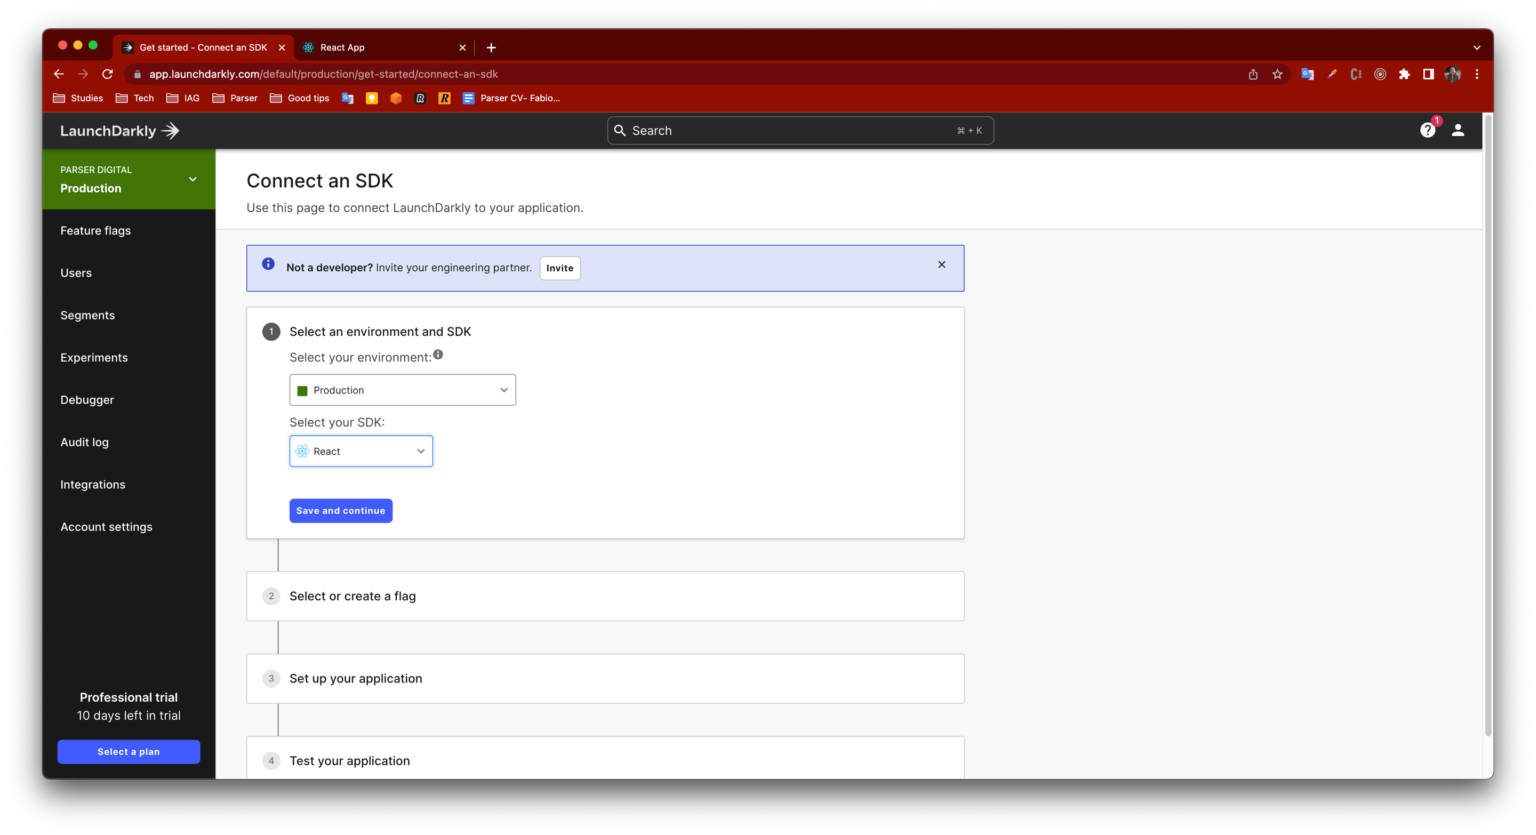
SDK connection screen
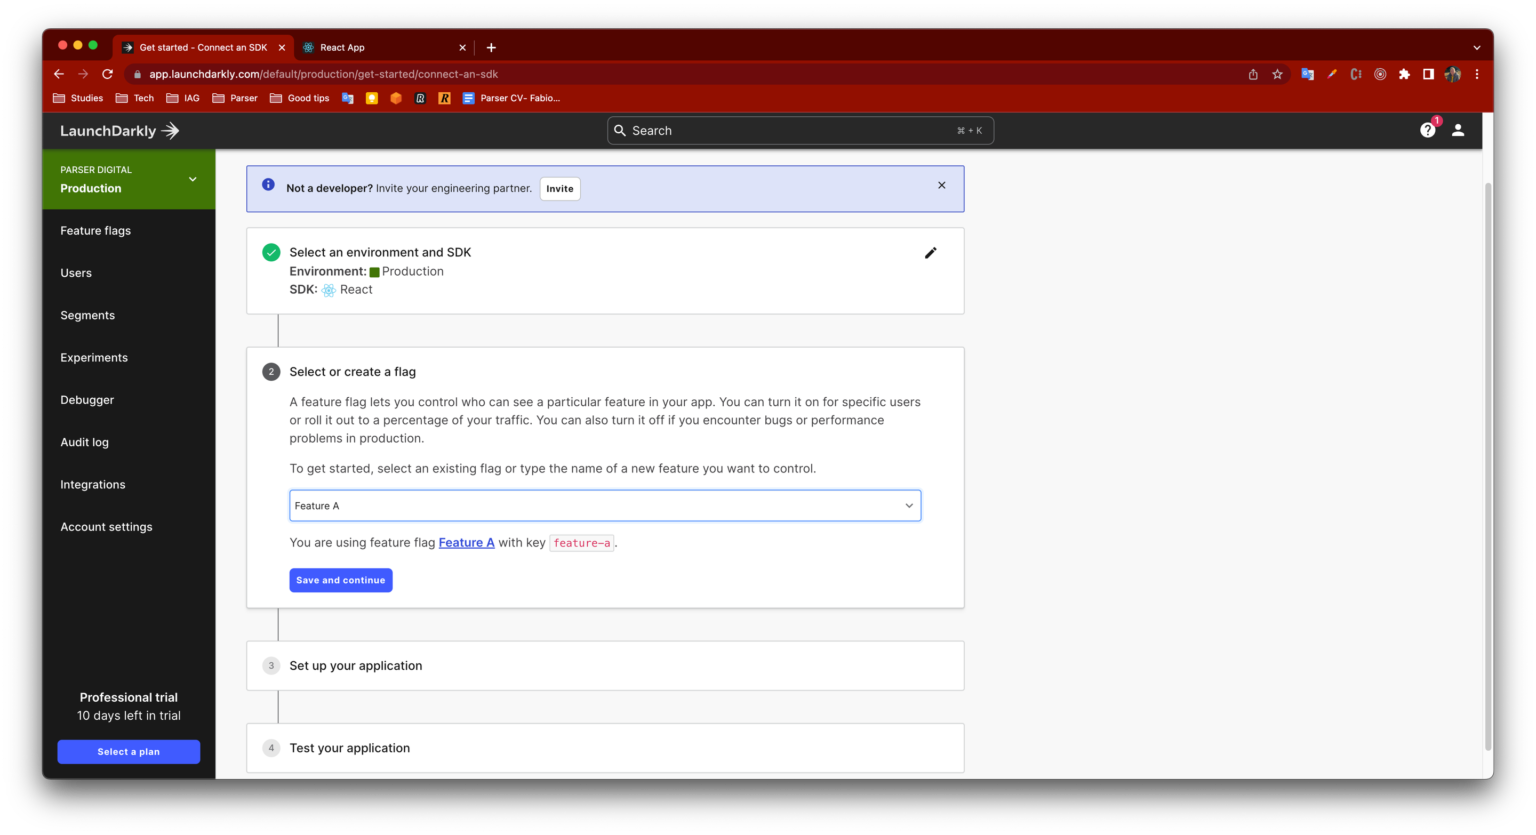
SDK connection screen
Testing!
Now we can see the feature flags in action. First, I can just turn the Feature A off, and it automatically disables the feature A button in the React app in real-time:
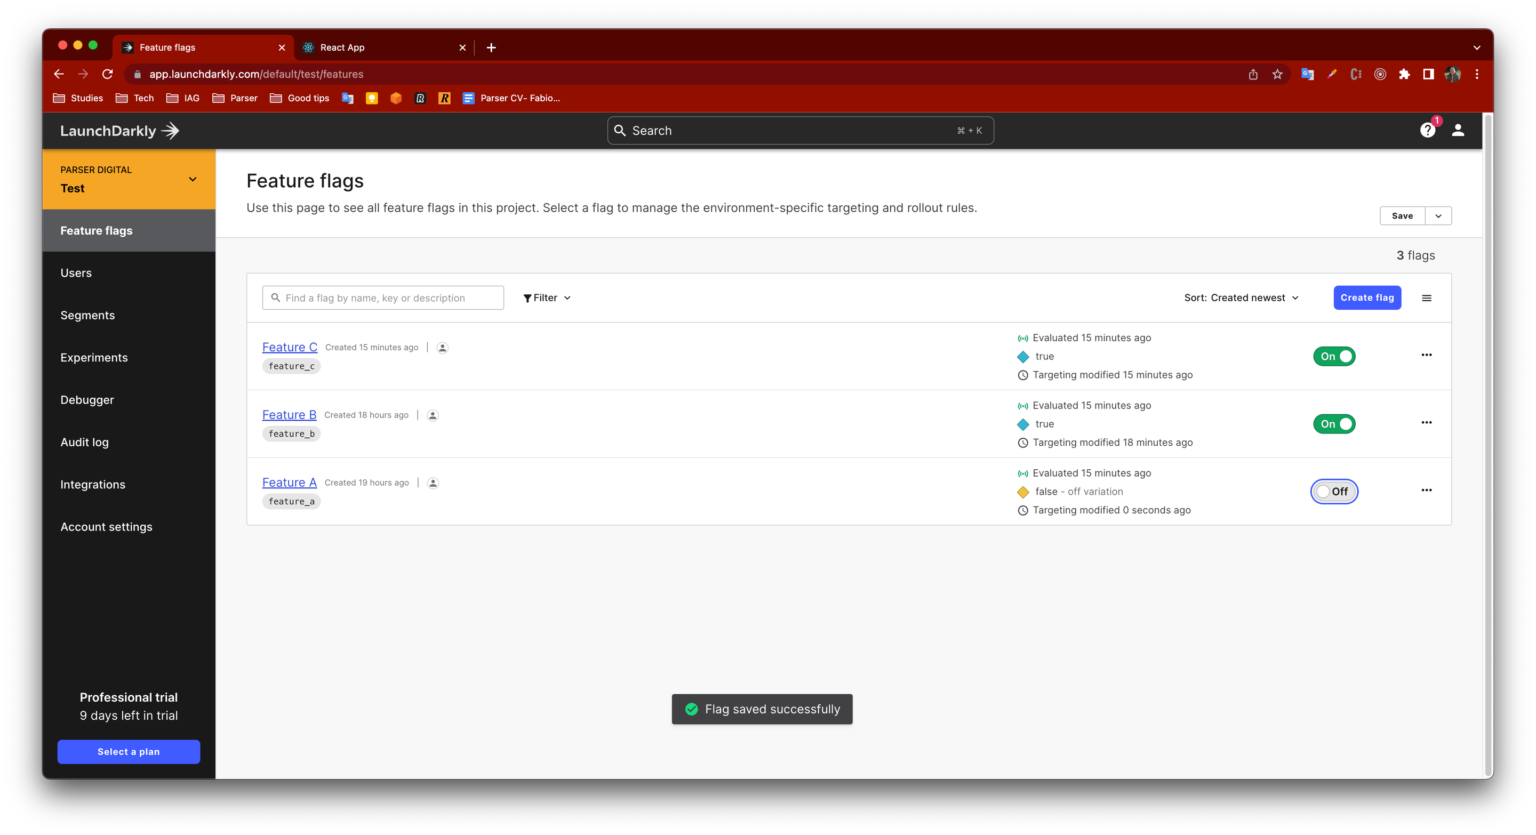
Feature flag A is OFF
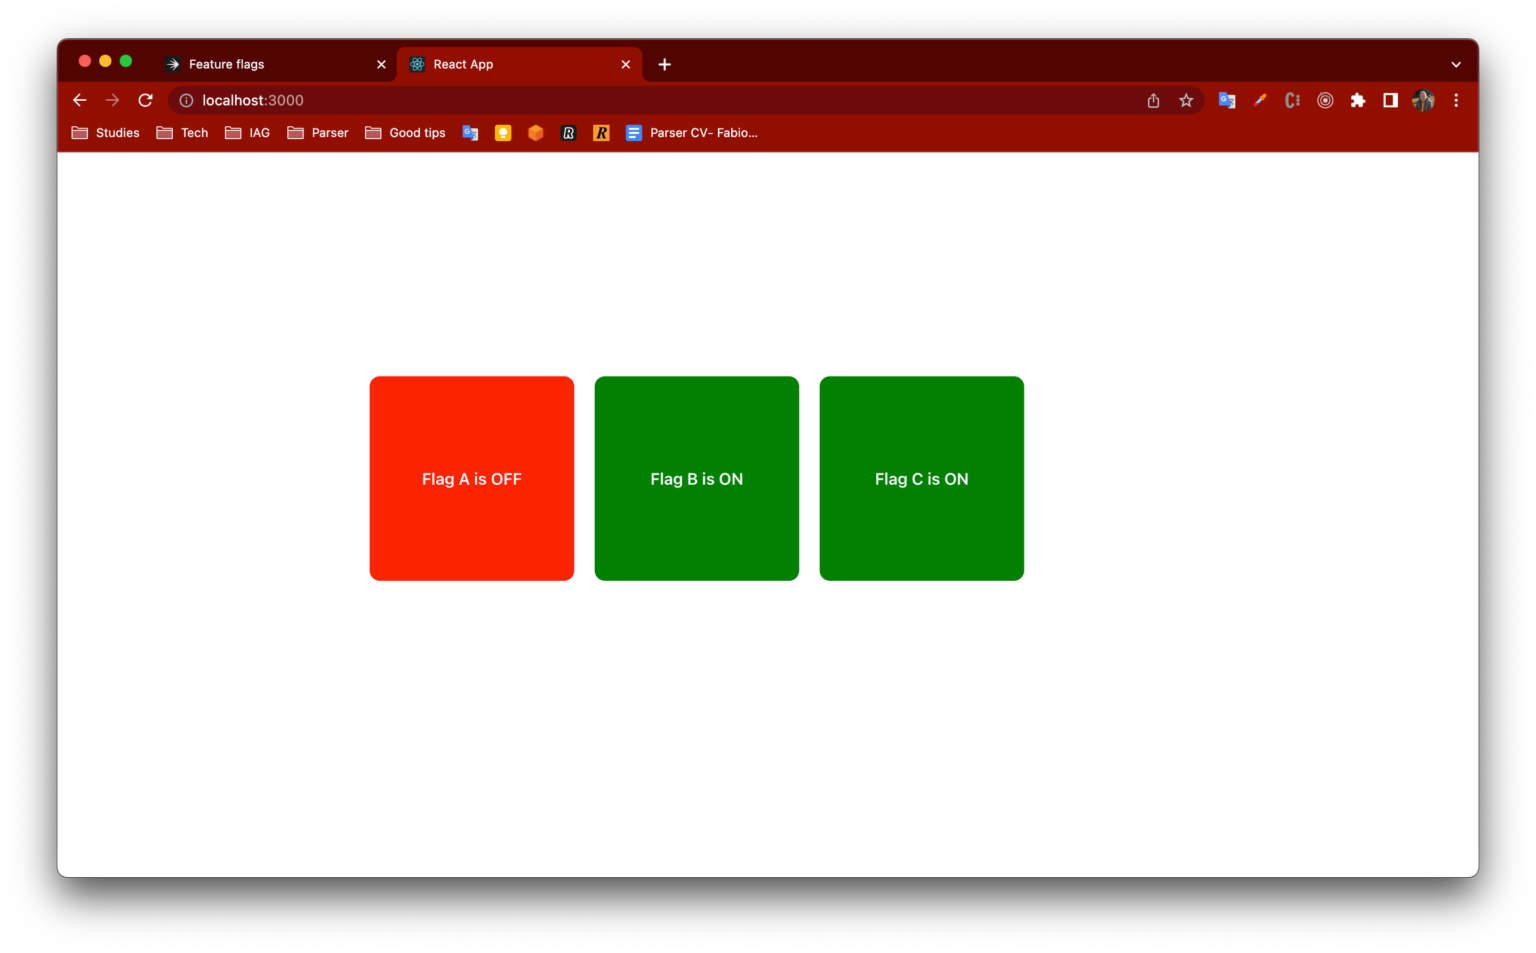
The React application reacted to the change in real-time
It’s the same for feature flags B and C, as you can see below:
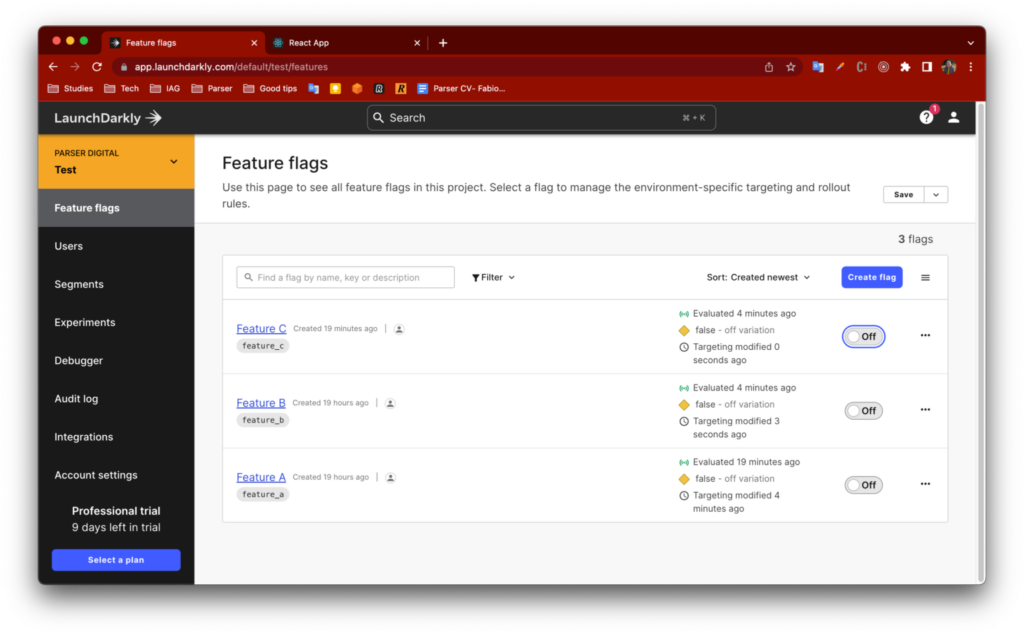
All feature flags are OFF
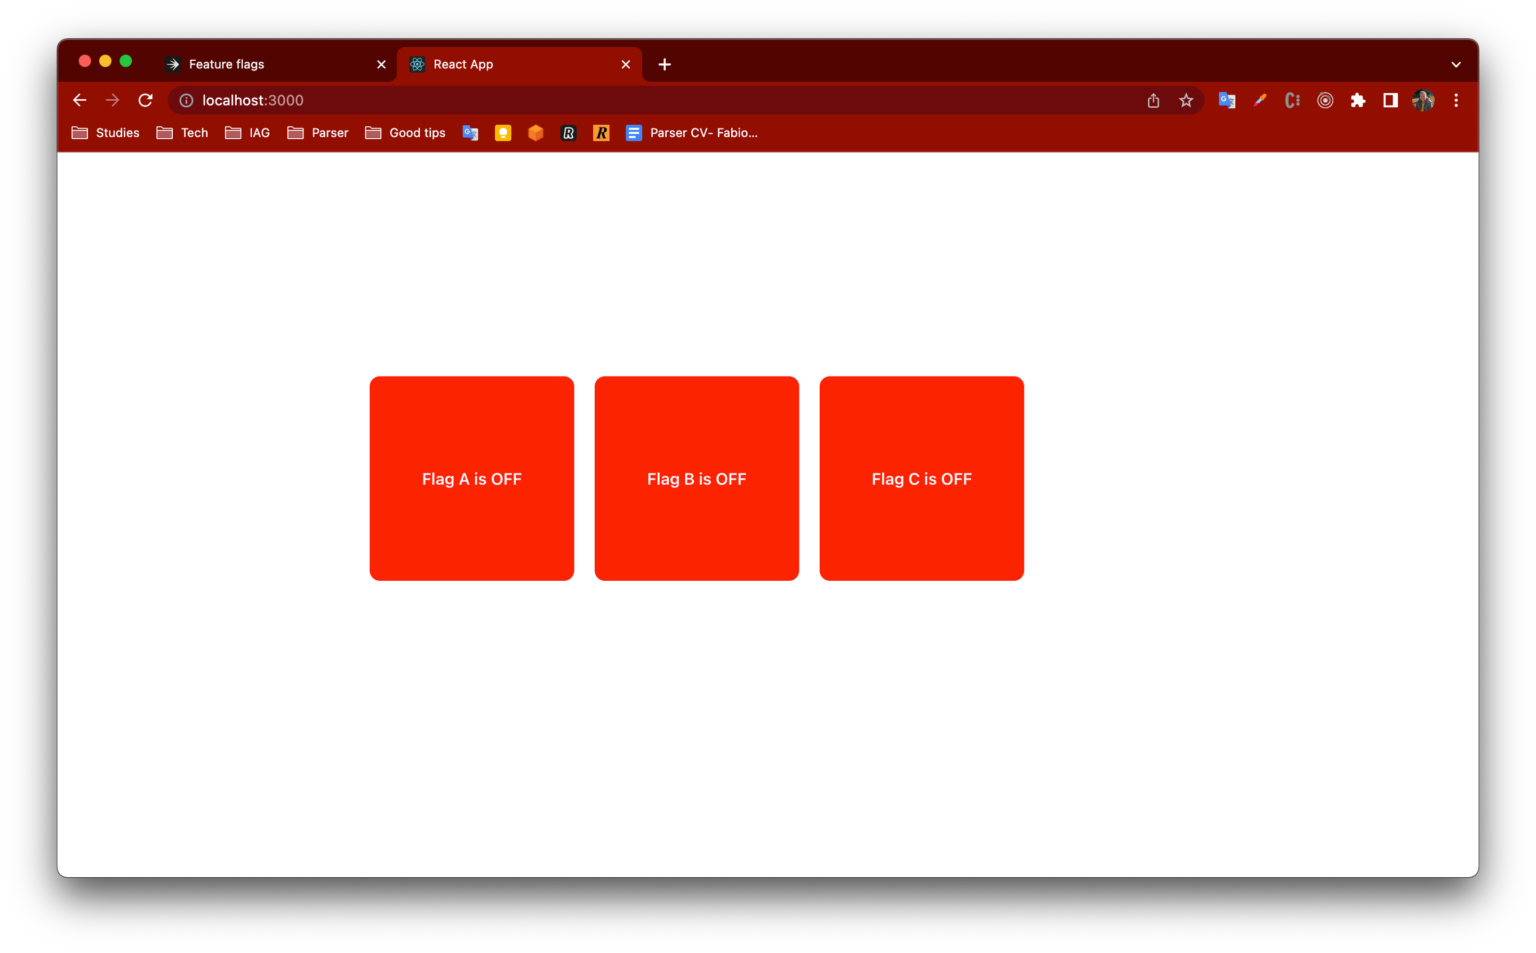
The React application reacted to the change in real-time
Other Good Features
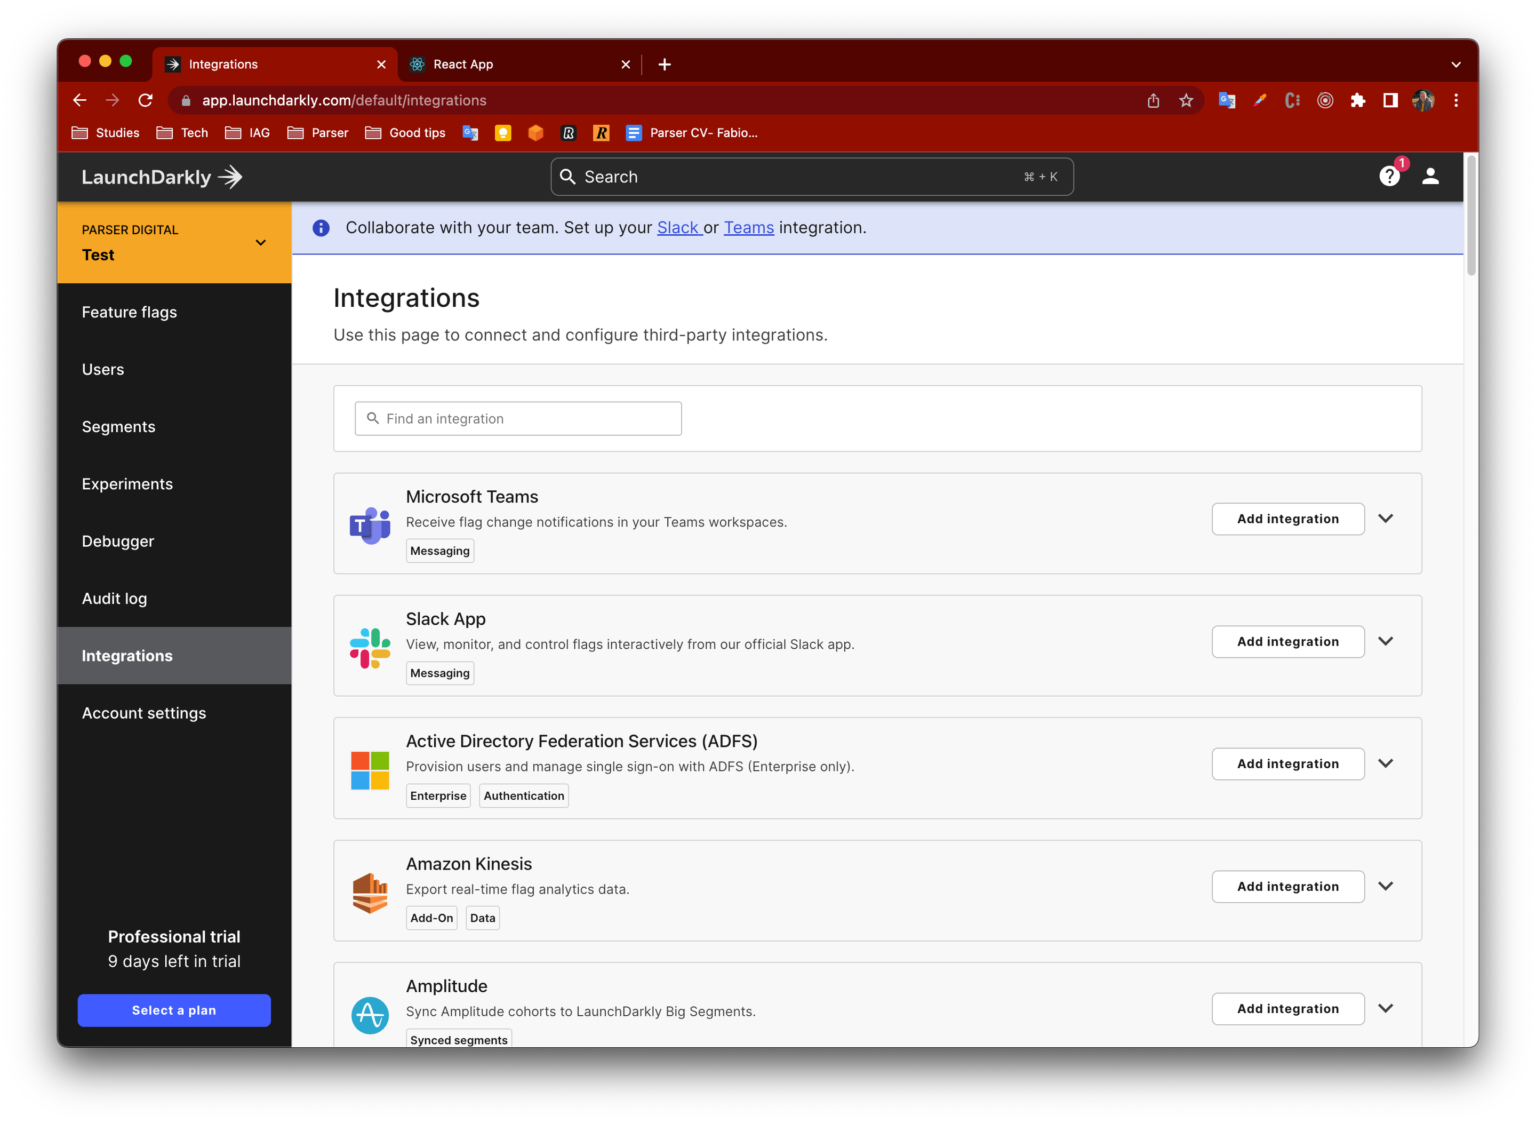
LaunchDarkly provides many other great features, like an audit log per environment to track all changes on the feature flags. The product also provides integration with third-party tools such as Microsoft Teams, Slack, Amazon Kinesis and more.
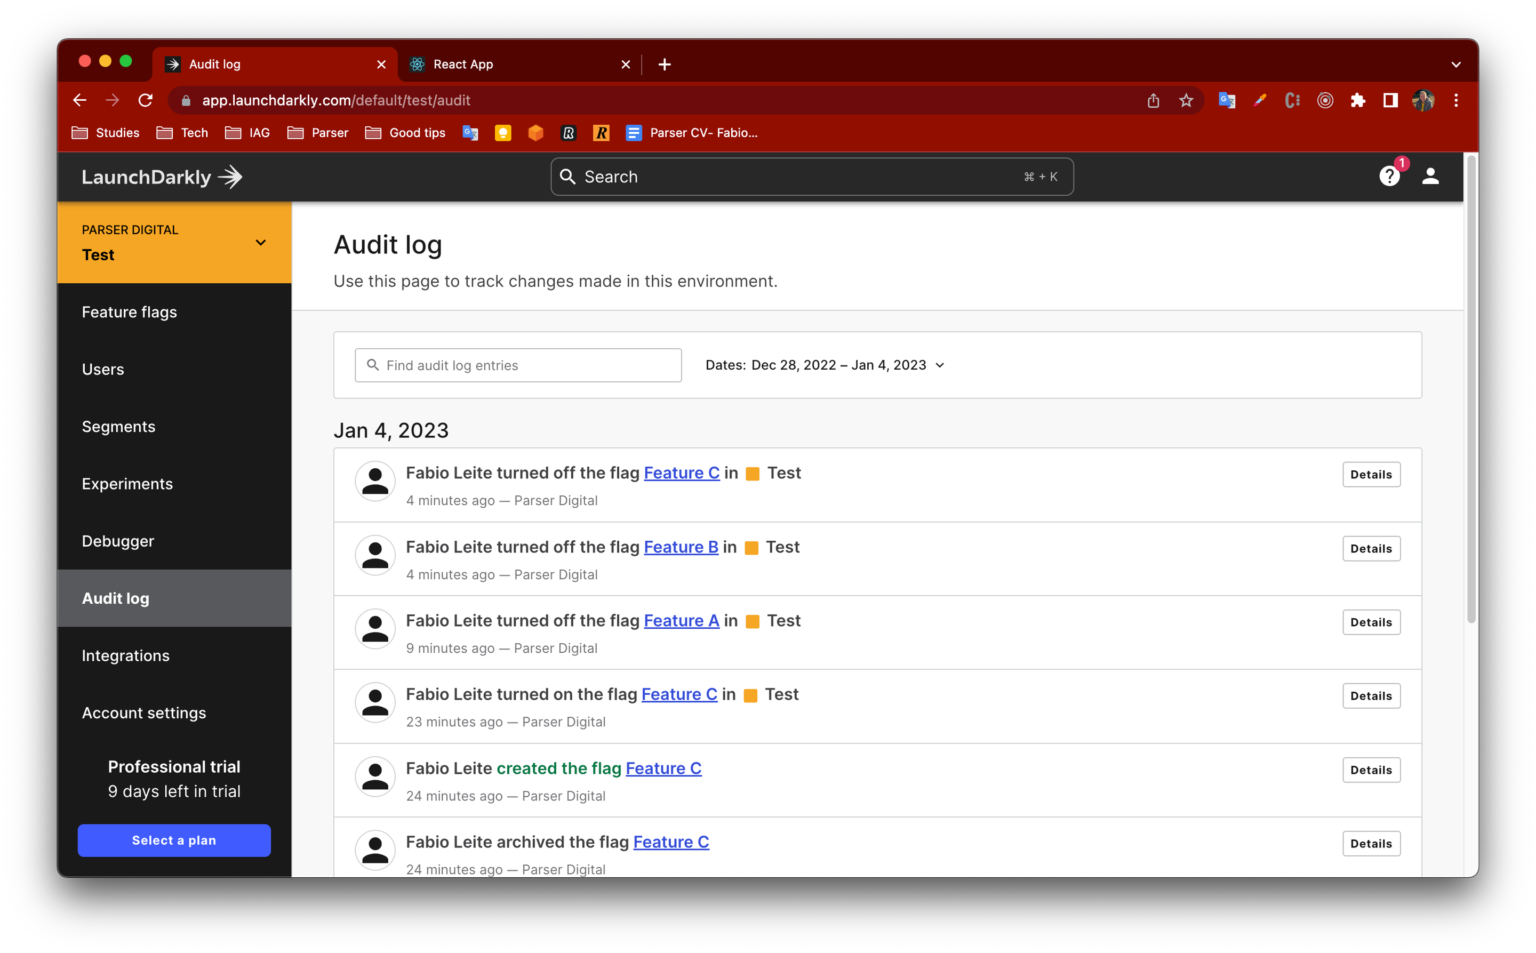
Audit log

Integrations
Conclusion
For this first approach, LaunchDarkly provided a great experience, being very intuitive and developer-friendly. It’s very easy to configure and use in web and mobile applications and performed brilliantly during tests.
Resources
| LaunchDarkly documentation | Welcome to LaunchDarkly docs |
| React application | launchdarkly-poc.zip04 Jan 2023, 03:50 pm |


